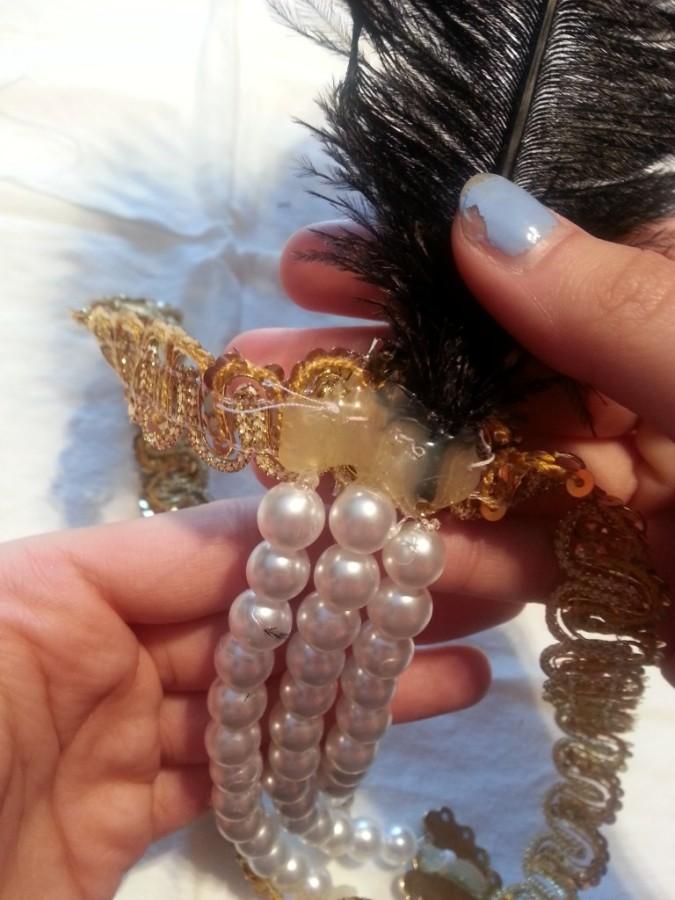
Student Council is bringing the Roaring Twenties to turnabout this year with the chosen theme: Party at Gatsby’s.
On February 22, LZHS will become a 1920’s party, and girls are expected to dress like flappers. Flapper girls were young women in the 1920’s who did not want to conform to the normal standard of what women were supposed to be. They partied, danced, and were not afraid of a good time.
For those who want to become a proper flapper, follow the step by step guide to making a flapper girl headband.
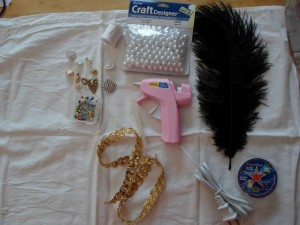
What you need:
Headband of your choice
Straight Pins
Needle and thread
Hot glue gun with glue
Decorative pearls with holes
Stretch magic cord (1 mm)
Feather
Large decal
Optional: other smaller decals
Step 1:
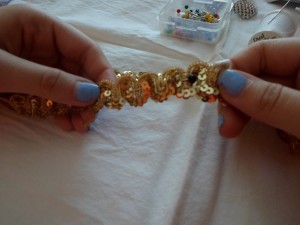
Figure out how large the band must be to fit your head. Pin the band. Leave a little extra space because there will be parts glued to the inside: you do not want them pressed up against your head. Sew the ends of the band to create the desired circumference.
Step 2:
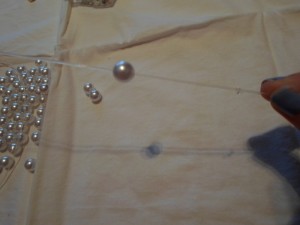
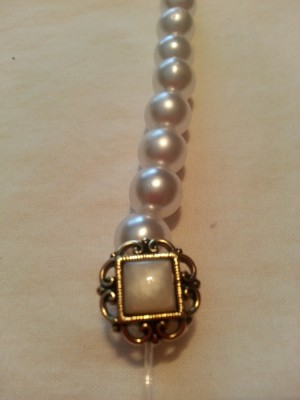
Cut the magic cord to the desired length, leaving extra space to tie knots. Tie a knot on one end big enough to hold the pearls on. Continue stringing on the pearls. Add a decal on the end by supergluing it to the magic stretch or threading it through if it has a threading hole. Repeat this as many times as you would like, remembering that the extensions look best if they are different lengths.
Step 3:
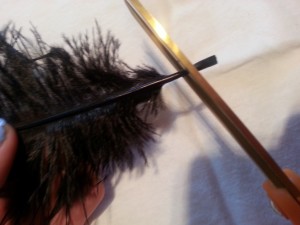
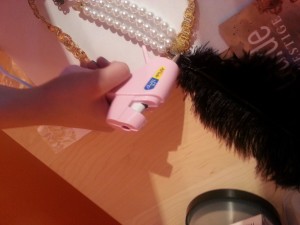
Cut the end of the feather so that the bottom piece would not stick through the band. Super glue the feather to the inside of the band.
Step 4:
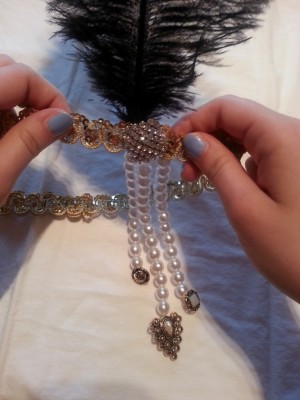
Sew or super glue the pearl extensions evenly on the inside of the band so that they are evenly placed under the feather. Do the same to the large decal onto the front of the band so that it is evenly lined up under the feather.
Michael Gallagher contributed to this article

